
Looking to replace your water heater? Don't worry, we've got you covered with these 10 tips for a seamless replacement.
- Evaluate your current water heater
- Choose the right replacement model
- Gather your tools and materials
- Shut off the power and water supply
- Drain the old water heater
- Install the new one
- Connect the water and power supply
- Test for any issues
- Dispose of the old heater properly
Let's get started!
Evaluate Current Water Heater
Assess your current water heater's condition and performance to determine if it's time for a replacement. Start by checking for any signs of leakage or corrosion. If you notice water pooling around the tank or rusty patches, it could indicate a problem.
Additionally, consider the age of your water heater. Most units have a lifespan of around 8-12 years. If yours is nearing or exceeding this range, it may be time to start thinking about a replacement.
Next, evaluate its efficiency. Is it taking longer for your water to heat up? Are you running out of hot water more frequently? These are signs that your water heater may be losing efficiency.
Choose the Right Replacement Model
To ensure a seamless water heater replacement, you need to carefully select the right replacement model. Choosing the right replacement model is crucial to ensure that your new water heater meets your needs and fits your budget.
Start by considering the size of your household and the hot water demand. A larger household will require a water heater with a higher gallon capacity.
Next, consider the type of fuel that you want to use. Electric water heaters are common and easy to install, but they can be more expensive to operate. Gas water heaters, on the other hand, are more energy-efficient and cost-effective in the long run.
Lastly, consider the energy efficiency rating of the replacement model. Look for water heaters with a high energy factor (EF) to save on energy costs.
Gather Necessary Tools and Materials
Now, let's gather the necessary tools and materials for a seamless water heater replacement. To ensure a smooth process, you'll need a few essential items.
First, grab a pipe wrench to disconnect the existing water and gas lines. You'll also need a bucket or a large container to catch any water that may spill during the removal process.
Next, gather a screwdriver and pliers to remove any screws or clamps holding the old water heater in place. Additionally, don't forget to have a tape measure on hand to measure the space for the new water heater.
Lastly, you'll need a new water heater, along with any necessary installation accessories, such as Teflon tape or pipe joint compound.
With these tools and materials ready, you'll be well-prepared for a hassle-free water heater replacement.
Shut off the Power and Water Supply
To ensure a smooth water heater replacement, you should start by shutting off both the power and water supply to the unit. This step is crucial for your safety and to prevent any damage during the replacement process.
Begin by locating the circuit breaker that controls the power supply to the water heater. Flip the switch to the OFF position to cut off the power.
Next, find the shut-off valve on the water supply line leading to the water heater. Turn the valve clockwise until it's fully closed to stop the flow of water.
It's important to wait for the water heater to cool down before proceeding with any replacement tasks.
Drain the Old Water Heater
Once you have shut off the power and water supply, it's important to regularly drain the old water heater to ensure a smooth replacement process.
Draining the water heater removes any sediment or mineral buildup that may have accumulated over time.
To begin, locate the drain valve near the bottom of the water heater. Attach a garden hose to the valve, making sure the other end is positioned to drain the water away safely.
Open the valve and allow the water to flow out until it runs clear. Be careful as the water may be hot.
Once the water has drained completely, close the valve and disconnect the hose.
This step is crucial as it prepares the old water heater for removal and helps maintain the efficiency of the new one.
Disconnect the Old Water Heater
To properly disconnect the old water heater, you'll need to turn off the power and water supply. Before you begin, make sure to shut off the electricity at the circuit breaker or fuse box. This will help prevent any accidents while working with electrical components.
Next, locate the water supply valve, usually located near the top of the tank, and turn it clockwise to shut off the water flow. It's important to drain the tank before disconnecting it to avoid any water spillage. Attach a hose to the drain valve at the bottom of the tank and place the other end in a suitable drainage area. Open the valve and let the water drain completely.
Once the power and water supply are turned off and the tank is drained, you can proceed to disconnecting the old water heater.
Install the New Water Heater
First, you'll need to position the new water heater in the desired location. Make sure to choose a spot that's easily accessible and meets all safety requirements.
Before installing the new water heater, thoroughly clean the area and remove any debris or obstacles. Carefully place the water heater in the designated spot, ensuring that it's level and stable.
Next, connect the water supply lines to the corresponding valves on the water heater. Use a wrench to tighten the connections securely, but be careful not to overtighten and cause damage.
After that, connect the gas or electrical supply to the appropriate connections. Double-check all the connections to ensure they're tight and leak-free.
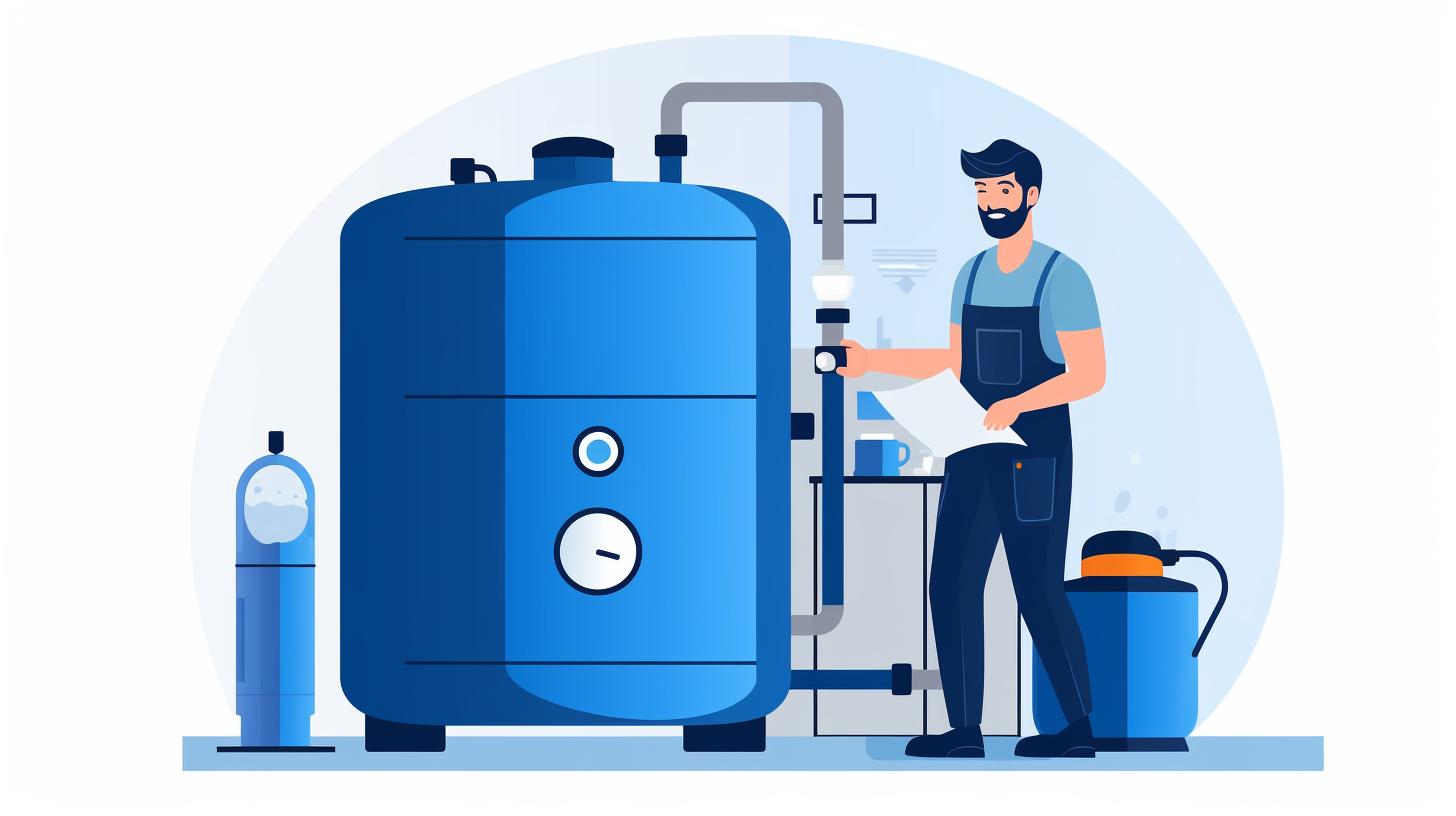
Connect the Water and Power Supply
Now, you'll need to connect the water and power supply to the new water heater.
Start by turning off the power supply to the old water heater.
Next, shut off the water supply valve that leads to the old water heater.
Use a wrench to disconnect the water pipes from the old water heater. Make sure to have a bucket or a towel handy to catch any remaining water.
Once the old water heater is disconnected, connect the water pipes to the new water heater using a wrench. Ensure that the connections are tight to prevent any leaks.
After that, turn on the water supply valve and check for any leaks.
Test and Troubleshoot for Any Issues
Once you have connected the water and power supply to the new water heater, it's time to test and troubleshoot for any issues.
To ensure a seamless replacement, it's crucial to check for any leaks in the system. Start by inspecting all the connections, including the inlet and outlet pipes, as well as the pressure relief valve. Use a flashlight to closely examine for any signs of water dripping or pooling.
Additionally, turn on the hot water faucet to check if the water flows steadily without any interruptions. If you notice any leaks or inconsistent water flow, tighten the connections or replace faulty components.
Dispose of the Old Water Heater Properly
After you have completed the replacement process, it's important to properly dispose of the old water heater.
Simply throwing it in the trash isn't an option, as it can be harmful to the environment and may even violate local regulations.
The first step is to check if your local municipality offers a recycling program for water heaters. If they do, contact them to find out the proper procedures for disposal. In some cases, they may even offer a pickup service.
If recycling isn't an option, you can contact a local scrap metal recycling facility. They'll likely accept your old water heater and recycle the metal components.
Conclusion
Replacing a water heater can seem daunting, but with these 10 tips, it can be a seamless process.
By evaluating the current water heater, choosing the right replacement, and gathering necessary tools, you can be prepared for the task ahead.
Next, you'll need to shut off power and water supply to the old heater, and then drain it completely.
Once the old heater is drained, you can move on to installing the new one.
Make sure to connect the water and power supply properly, following the manufacturer's instructions.
Finally, test the new water heater for any issues, and make any necessary adjustments.
Don't forget to properly dispose of the old water heater for a job well done.
